When to Replace a Kitchen Faucet
You might need to replace a kitchen faucet when it begins dripping and you can’t stop it. It might be because there is a leak, or it is otherwise broken. There are many reasons that you might need to replace it.
You might want to replace it because you want to update your kitchen. There are many types of faucets that you can buy that will enhance the look of any kitchen. You can find them just about anywhere.
You can look on the internet to see where you can find one. Just put kitchen faucets into your favorite search engine and you will find them. There are many distributors out there.
This article will help you learn about how to replace a kitchen faucet. It will give you some tips on how to do it right so that there are no mistakes. You can also do more research to find the information you are seeking.

Replacing a Faucet
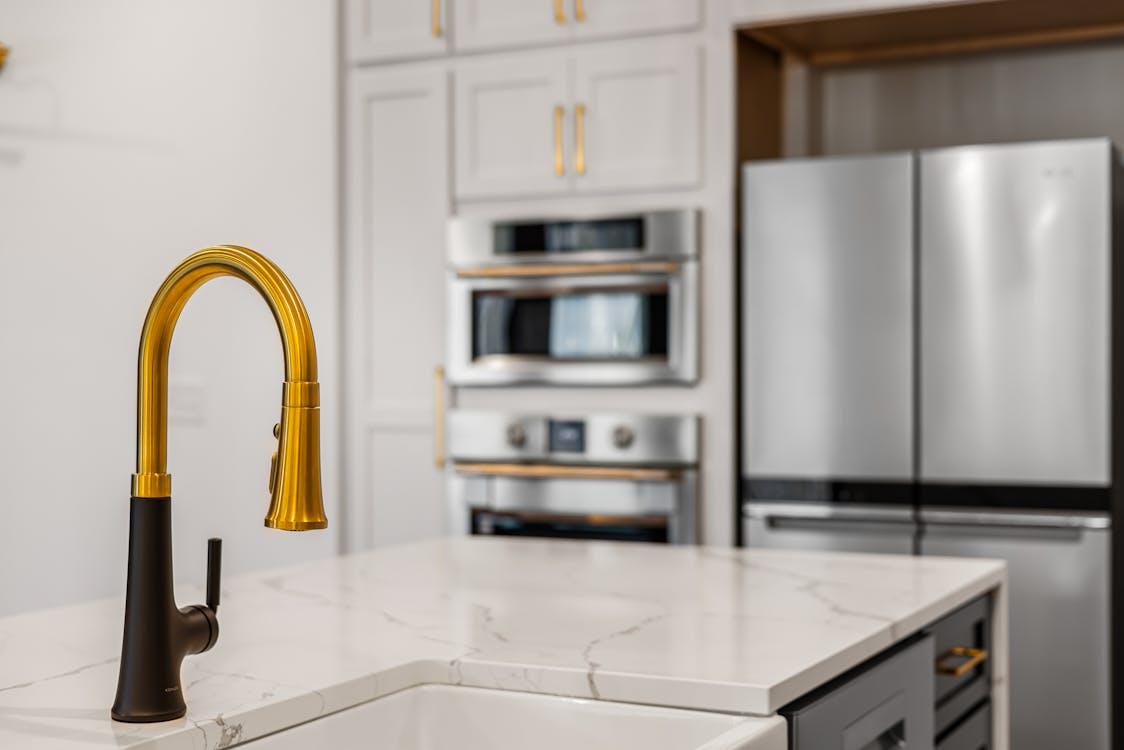
- Choose Faucet – The first thing you need to do is choose the faucet that best suits your needs and the décor for your kitchen. You need to choose one that fits the configuration of your sink. There are different types that you need to look at.
You need to look at the type of handles, your spout length, and the material of the faucet. The best kind to get if your budget allows is copper or cast iron: https://www.allrecipes.com/best-kitchen-faucets-8425683. If your budget is smaller than that, you should get stainless steel because it will last longer than more inexpensive ones.
- Get the Right Tools – You also need to have the right tools to do the job. You should gather them all before you begin so that once you get started, you won’t need to stop. There are several tools that you will need to have.
You should have a good adjustable wrench, a basin wrench, a good screwdriver set, Teflon or plumber’s tape, large bowl or bucket, towel or rags, and safety goggles or glasses. These are the most common tools you will use. You might need other tools, just check the instructions to see what you need.

- Turn Off Water Supply – There is a water supply valve under your sink. Turn this off before you begin, or you will make a large mess. You might also turn off your main water supply valve that supplies the whole home with water.
You may still have water that leaks due to the water that remains in the line. That is the reason that you need a large bowl or bucket to collect any that drips out. Towels or rags will also help you to clean up any mess that is made.
- Turn on Old Faucet – Turn on your old faucet to release any built-up pressure. There usually is internal pressure that builds up. You don’t need to have any special tools to do this, just turn the faucet on and it should work.
- Remove Old One – Remove the old one by using a screwdriver and wrench after releasing the pressure. Disconnect the water supply line by using an adjustable wrench. Remove all the connections and then gently remove the faucet from its place.
If it is an older one, it may be stuck in place. Use your screwdriver to get under the pieces and gently raise up on it to get it unstuck. Make sure that you have a bucket or towels to collect any water that may be leaking.
- Clean Around Your Sink – It is time to clean around your sink once you have removed the faucet. Use a nonabrasive cleaner to clean it. You don’t want to harm the surface of it when you are replacing the faucet.
- Install New Faucet – Most of them have the same installation procedures. First, you will put it in place with a washer and a nut. Then, you will tighten the nut with the adjustable wrench. After that, you will connect the water supply.
After connecting the water supply, you will use plumber’s tape to make sure that the faucet and supply line are connected with no leaks. You need to let the plumber’s tape dry for two or three hours before you use the water. Make sure all connections are tight so that you won’t have any leakage.
- Check for Leakage – Once plumber’s tape is completely dry, open up the water supply. Turn on the faucet to see if there is any leakage. If you find any, turn off the water supply again and check all connections once again.
Check the faucet itself to make sure that it has been broken in the connection process. It could also have been damaged in the package. If it is damaged, you will probably need to buy a new one.
- Check Both Streams of Water – Most people use both hot and cold water. Check the faucet and make sure that both streams work properly. You should also check for water pressure to ensure that it is working properly.
If the water pressure is low, you will need to check a couple of things. First, make sure the main valve is opened up completely. If you have turned off the house water valve, make sure it is turned on completely, as well. Look here for more ideas.
- Clean Up the Area – Once you have completed all the work, it is time to clean up your area. Use a towel or microfiber cloth to clean the entire area. You want to be careful not to scratch your new faucet.
Conclusion
It is not that difficult to replace your kitchen faucet on your own. Most people can do it without any problems. If you do have any problems, you can always call a plumber to help you.
Once you have replaced it, you can pat yourself on the back for a job well done. You have saved money by not calling a plumber. You have proven to yourself that it could be done and that you could do it.