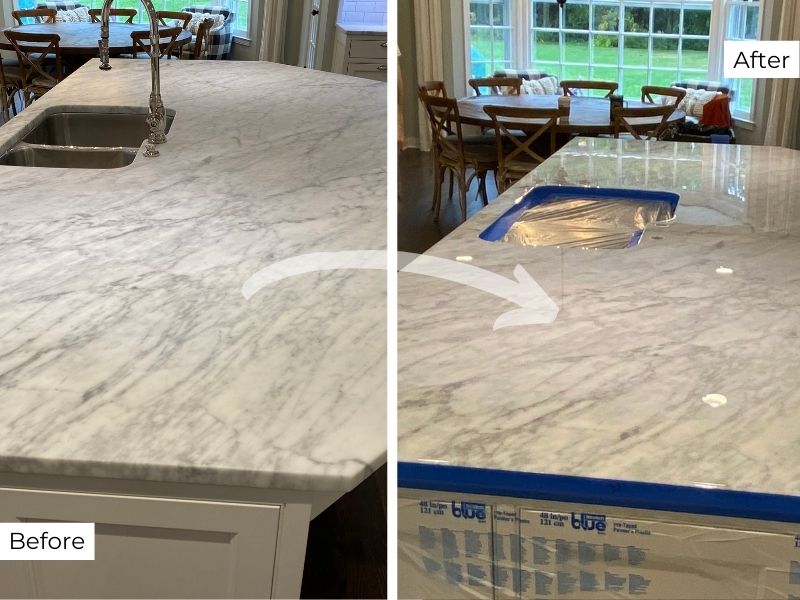
Granite surfaces exude elegance and durability, making them a popular choice for homes and commercial spaces. Over time, however, even the toughest granite can lose its shine due to wear, stains, or scratches. Restoring its original beauty doesn’t have to be a daunting task when the right tools and techniques are used.
Stone Polishing Supplies are the key to effective granite restoration, helping to revive dull surfaces and enhance their natural luster. Whether it’s a countertop, floor, or decorative piece, proper restoration not only improves appearance but also extends the lifespan of the stone. With the right approach, anyone can achieve professional-level results and keep granite looking flawless for years to come.
How to Identify Dullness, Etching, and Minor Surface Damage
Dull granite surfaces often appear hazy and lack reflection. This happens when the polished layer erodes due to frequent use, improper cleaning agents, or accumulated residue. Running fingers across a dull surface can reveal uneven textures or patches.
Etching on granite occurs when acidic substances like lemon juice or vinegar corrode the surface, leaving light-colored, rough marks. These marks usually disrupt the uniform appearance of the stone, especially under bright lighting.
Minor surface damage includes faint scratches, small chips, and worn areas. Close inspection or using a flashlight at an angle can help detect these flaws. Addressing these imperfections using professional-grade stone polishing supplies ensures a uniform, polished finish.
Users can Tap here to explore premium polishing tools and solutions that efficiently restore granite surfaces.
Types of Abrasives for Different Granite Restoration Needs
Using the correct abrasives ensures effective granite restoration. Abrasives are categorized by their material composition and usage to address various restoration needs.
- Diamond Abrasives
Diamond abrasives are ideal for extensive granite restoration. They effectively remove deep scratches, stains, and etching. Available in different grits, these abrasives transition from coarse to fine to achieve a polished finish.
- Silicon Carbide Abrasives
Silicon carbide abrasives offer versatility in restoring moderate wear. They work well for smoothing rough surfaces and preparing granite for polishing steps.
- Resin-Bonded Abrasives
Resin-bonded abrasives excel in final polishing stages. These are softer than diamond abrasives, producing a high-gloss finish by refining the granite’s surface.
- Felt Pads with Polishing Compounds
Felt pads, combined with polishing creams or compounds, restore granite’s luster. They’re useful for addressing light haze and maintaining the polished layer.
Choosing premium abrasives with stone polishing supplies maximizes restoration results. For detailed product options, users can tap here to explore solutions from trusted providers.
Choosing the Right Grit Progression for a Polished Finish
Using the correct grit progression is vital for achieving a refined, polished granite surface. Grits vary based on their coarseness, enabling users to address different restoration stages effectively. Starting with coarse grit, such as 50 or 100, removes scratches and levels the surface. Progressing to medium grits, like 200 or 400, ensures a smoother texture by refining deeper abrasions. Finer grits, ranging from 800 to 3000, enhance the granite’s reflective quality, leading to a high-gloss finish.
Skipping grit levels risks uneven polishing, leaving visible marks or inconsistent shine. Each grit stage should gradually eliminate the patterns left by the previous one. Diamond abrasives, commonly included in advanced stone polishing supplies, provide precision by maintaining consistent abrasion across the surface. Paired with polishing compounds, they restore depth and brilliance to granite countertops and floors.
Stone polishing supplies with clearly marked grit ranges simplify the process for users, ensuring no stage is overlooked. Whether used for minor touch-ups or full restoration, proper grit sequences are essential. Those seeking professional-grade results can tap here to explore premium polishing solutions and abrasives tailored for granite restoration.
Step-by-Step Guide to Applying Polishing Creams Correctly
- Prepare the Surface
Clean the granite thoroughly using a stone-safe cleaner to remove dirt and residues. Dry the surface completely to ensure uniform application of the polishing cream.
- Select the Right Polishing Cream
Choose a professional-grade polishing cream designed for granite. Products listed under expert stone polishing supplies provide optimal results for luster and surface refinement.
- Apply the Cream
Dispense a small amount of polishing cream directly onto the granite. Use a microfiber cloth or felt pad to spread the cream evenly over the area. Work in small sections to prevent areas from drying unevenly.
- Polish the Surface
Buff the cream into the granite using circular motions. Using a polisher with felt pads can expedite the process, ensuring that the surface is polished consistently and effectively.
- Remove Excess Cream
Wipe off any remaining cream with a clean, damp cloth once polished. Avoid leaving residue, as it may dull the surface over time.
- Inspect the Finish
Check for uniformity in the surface’s reflective quality. Reapply the polishing cream to sections that lack the desired finish, if necessary.
Professionals recommend sourcing polishing creams from trusted providers like BB Industries. Readers can tap here to explore advanced solutions and stone polishing supplies tailored for granite restoration needs.
Using Hand Pads vs. Machines: What Delivers Better Results
Hand pads offer precision and control for granite restoration, allowing users to target specific areas, such as etched spots or small scratches. These tools work well for minor touch-ups and localized repairs. They require manual effort, so they suit situations where depth and accuracy are more important than speed. Hand pads, paired with quality stone polishing supplies like diamond abrasives, can effectively restore luster to areas with light wear.
Machines provide faster results and consistent pressure over large surfaces, making them ideal for significant restoration or polishing projects. Rotary polishers and grinders, equipped with adjustable settings, evenly level and polish granite surfaces. When used with professional-grade stone polishing supplies, such as resin-bonded abrasives or diamond pads, machines produce a high-gloss finish with efficiency. However, their use requires careful handling to avoid over-polishing or damage.
Users should choose based on the scale of the project and desired precision. For extensive polishing, machines are recommended, while hand pads excel in maintaining control during detailed work. Combining both options alongside trusted stone polishing supplies delivers optimal restoration results. Readers can tap here to explore tools designed for professional granite restoration.
Preservation Tips After Restoration for Long-Term Shine
Maintaining granite’s restored brilliance requires consistent care and attention. Use non-abrasive, pH-neutral cleaners to prevent damage and avoid acidic or harsh chemicals that can dull the surface. Regularly wiping down granite with a soft cloth helps preserve its polished finish.
Seal the surface periodically to protect against stains and moisture penetration. A high-quality granite sealer creates a barrier, keeping the stone resilient and easier to clean. Placing coasters, trivets, and mats under items like glasses, pots, or appliances can further minimize scratches and etching.
By integrating these simple practices into daily routines, granite surfaces can retain their stunning appearance and durability for years. Investing in premium stone care supplies and following proper maintenance ensures long-term satisfaction with your beautifully restored granite.